Hi,
See the detailed instructions below to fix the top banner problem for your website, full image: https://prnt.sc/uin90b

Note: If you have other issues, please submit a ticket to get support from us.
Thank you
Hi,
See the detailed instructions below to fix the top banner problem for your website, full image: https://prnt.sc/uin90b
Note: If you have other issues, please submit a ticket to get support from us.
Thank you
Sometimes some changes in Elementor Editor may not appear immediately after they are saved.
You can try this solution.
Regenerating CSS: Go to WP admin > Elementor > Tools > Regenerate CSS.
Then, you can clear the cache (WP cache and browser cache) and refresh the page.

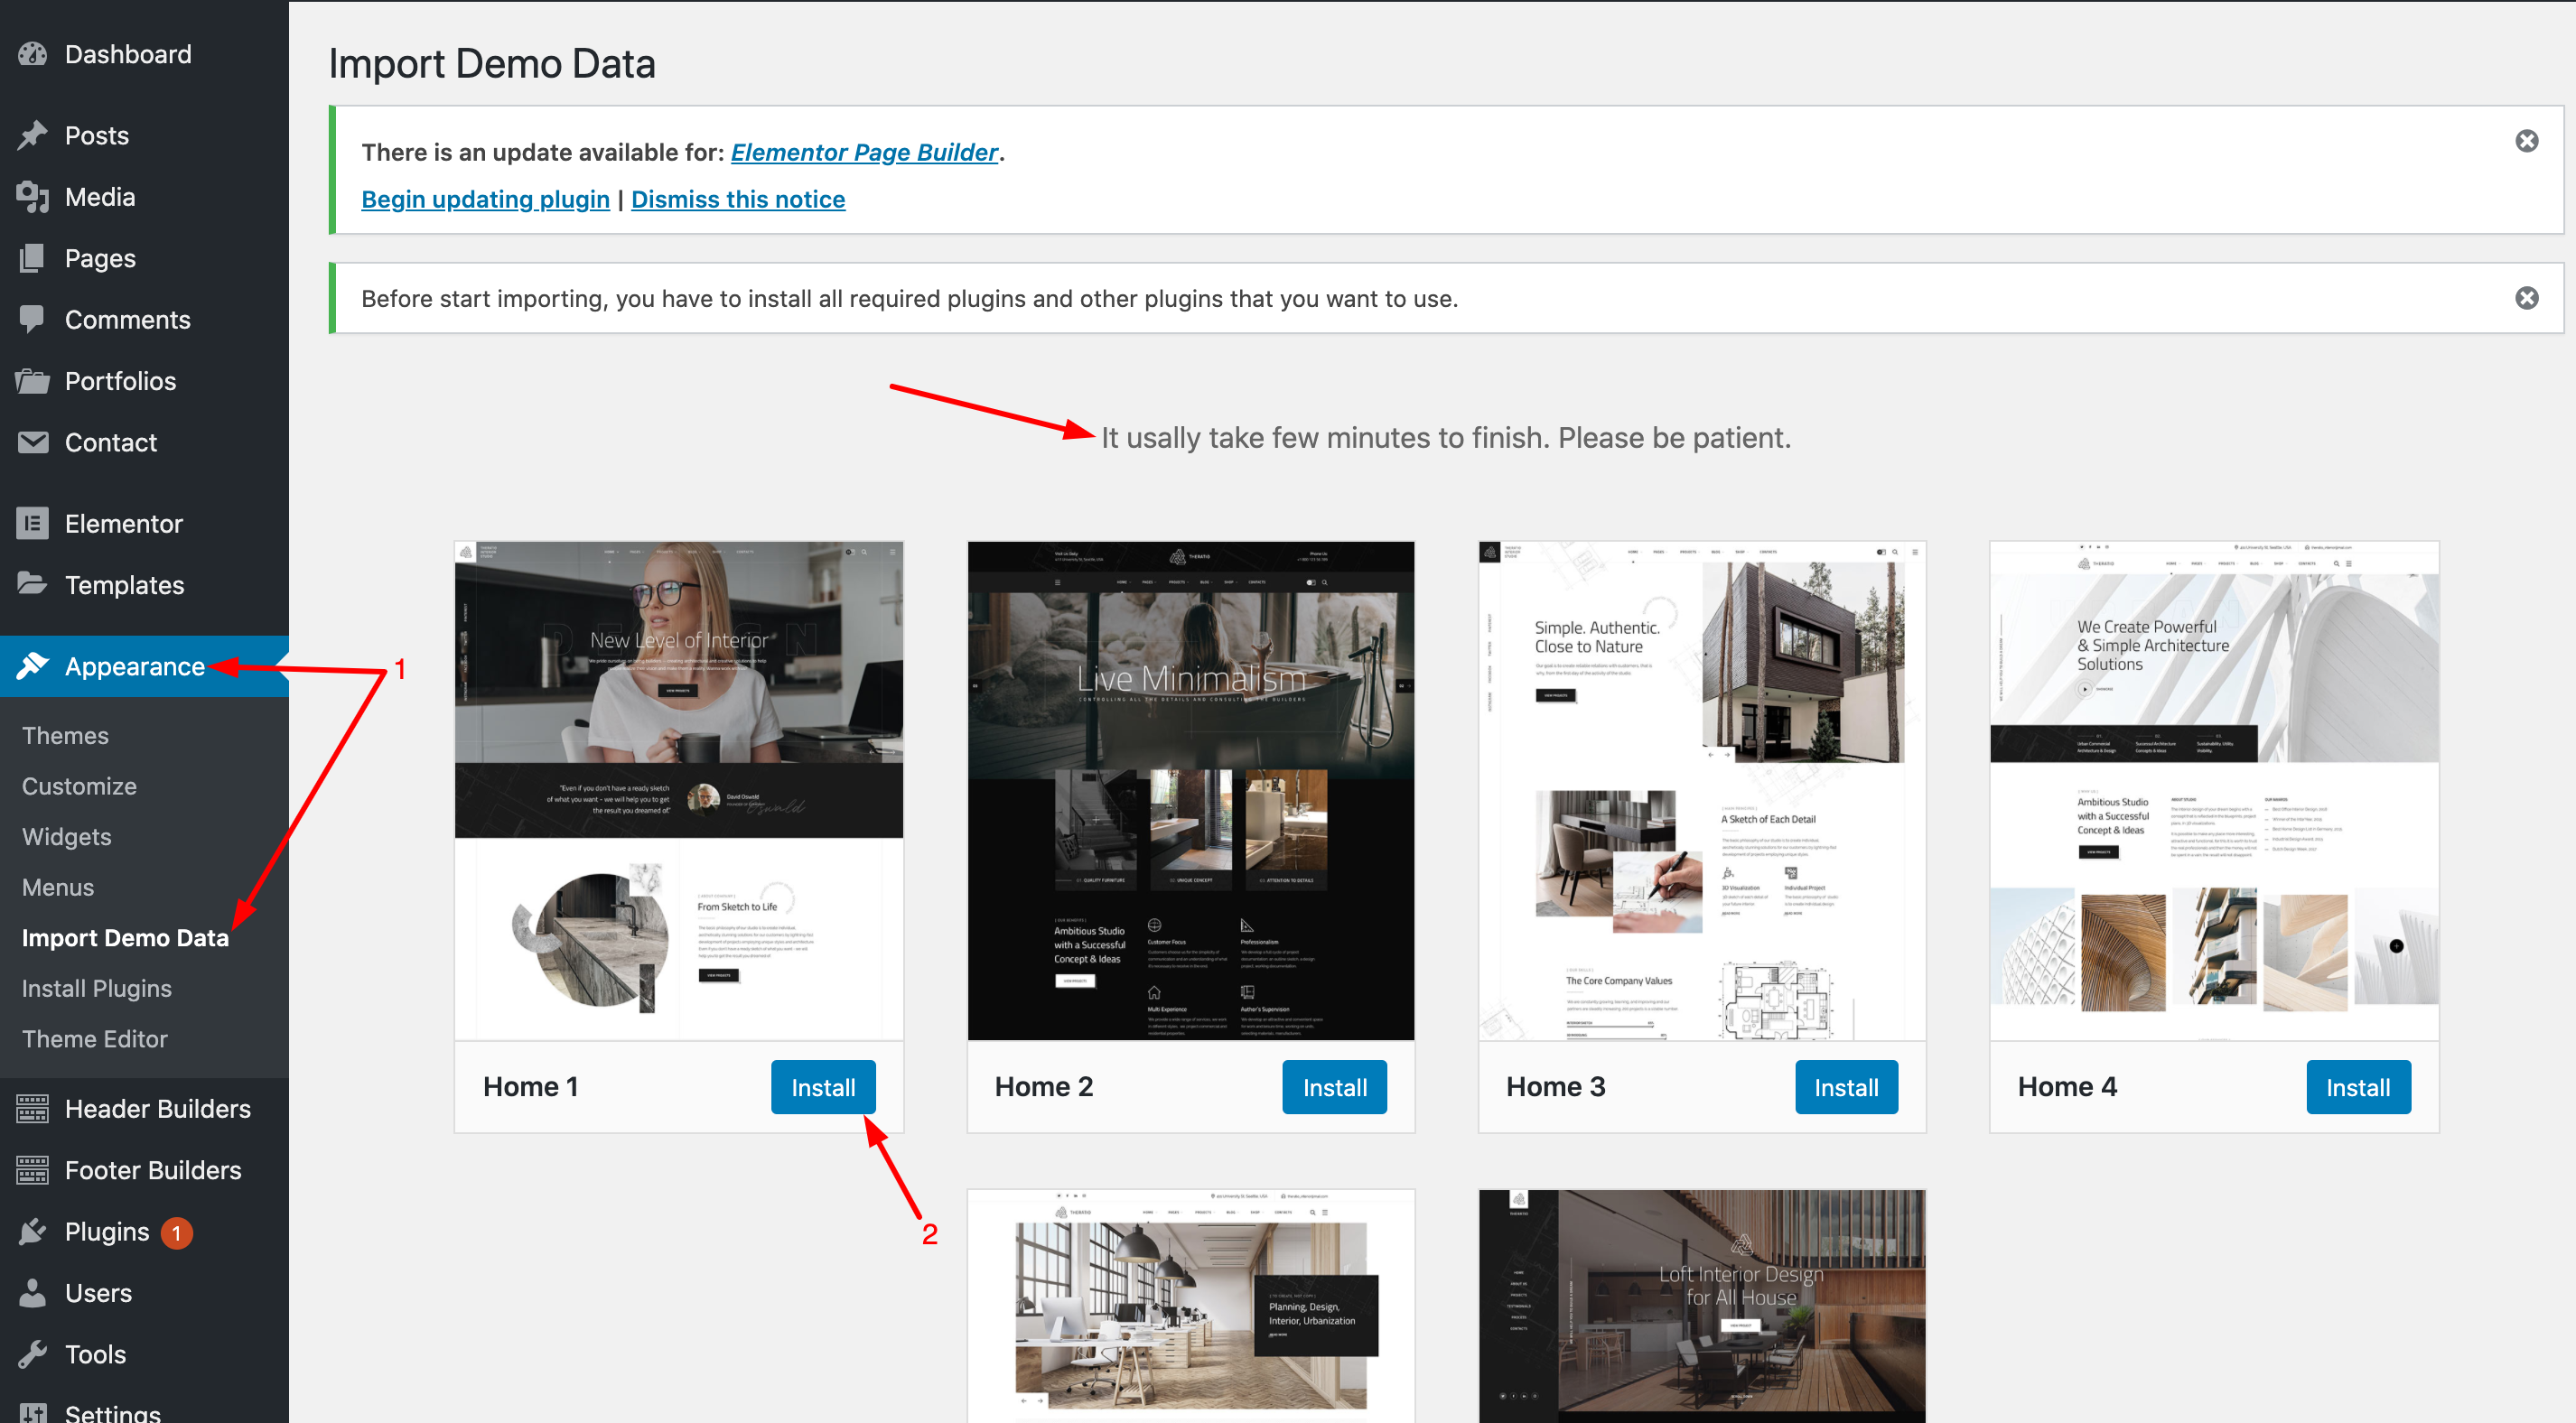
Please follow these steps to import demo content for header builder only, note that you will not lose old content.
1, Please download and extract the header-builder.zip file to a folder: https://onum-wp.s3.amazonaws.com/demo-content/header-buider.zip
2, After extract the zip file, please find the header-builder.xml file and import it for your website.
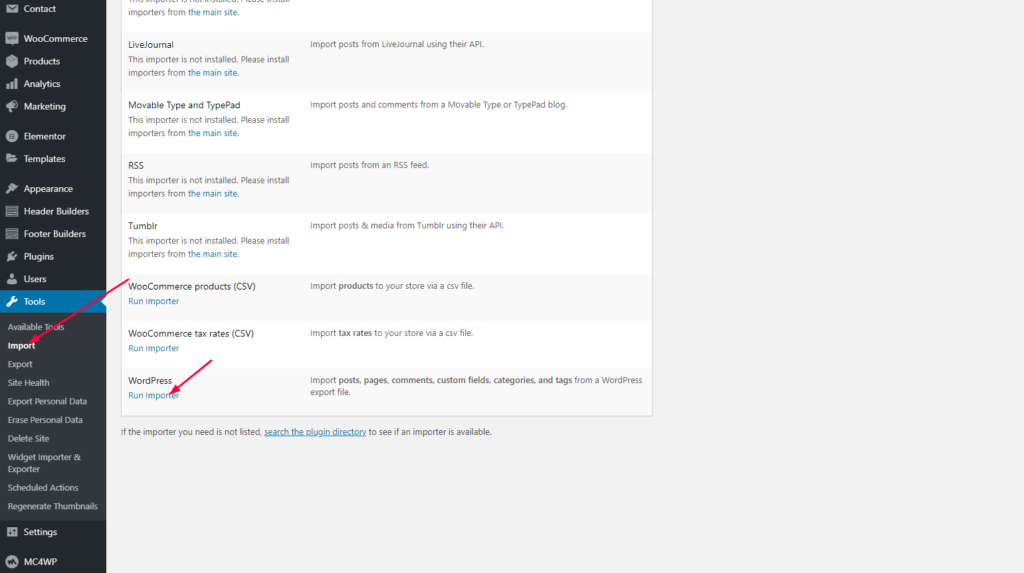
a, Disable the "One Click Import Demo Content" plugin.
b, Install and active the "WordPress Importer" plugin.

Step 1, Go to Tools -> Import -> Run Importer:

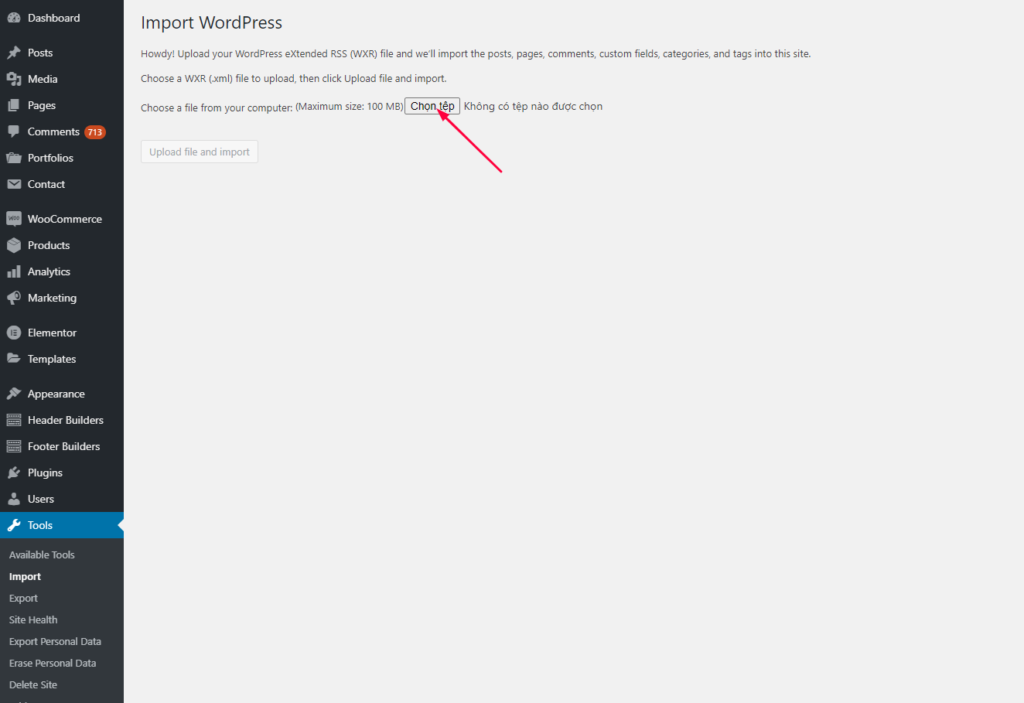
Step 2, Choose a file from your computer -> upload the header-builder.xml file -> Click button "Upload file and import"

Step 3, Tick choose "Download and import file attachments" and Submit:

=> And finally you need to set Elementor for all custom post type:

=> Go to Settings -> Permalinks -> Change permalinks -> Save Changes:

I want you to do it twice, first you choose "Plain" and Save Changes, then you choose "Post name" and Save Changes. This helps you to edit the header builder with elementor will not get "content area error" error.
Thank you
"There is an issue with Elementor 3.0."
==> We have a solution for you to successfully import demo content. Please do follow step by steps below:
1, Please resets the site’s database to the default installation, use this plugin to reset website: https://wordpress.org/plugins/wp-reset/
=> After install and active the WP Reset plugin then reset your website:

2, The first, you need to active the theme:

3, The second, you need to active all the plugins required install with the theme:

4, Rollback Version for Elementor version 2.9.9 (Rollback to Previous Version) -> This is very important:

5, Start Import demo content again with One Click Import Demo featured:
6, After Import demo content success, please update the Elementor latest version 3.0.2 or higher:

7, Finished!
Note: if you still cannot import demo content successfully. Please create a new ticket and provide your full admin account information and website url link. We will import demo content for you as soon as possible.
Hi,
1, Check the "header name":
1a, Go to the backend edit of the Pages or Homepage and check the "header name": https://prnt.sc/NHtf8Qcytwws
1b, Go to Appearance -> Customize -> Header and check "header name": https://prnt.sc/6dmmMmcM2bbR
2, Find the "header name" in the Header builder custom post type and Edit with Elementor: https://prnt.sc/2EdTtoyeLRLS
3, Edit logo, menu, header style, etc...: https://prnt.sc/khvhFT-oUskr
Thank you!
The theme is fully container compatible.
Once you've successfully imported your demo content, you can convert Sections to Containers to use.
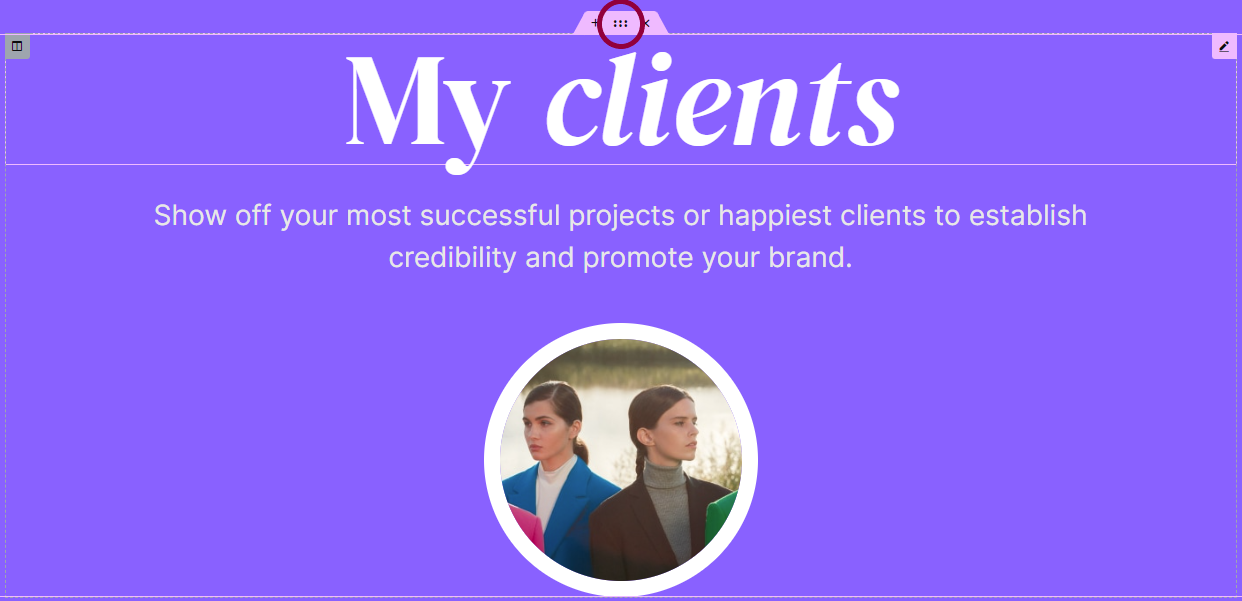
2. Click the Edit Section icon
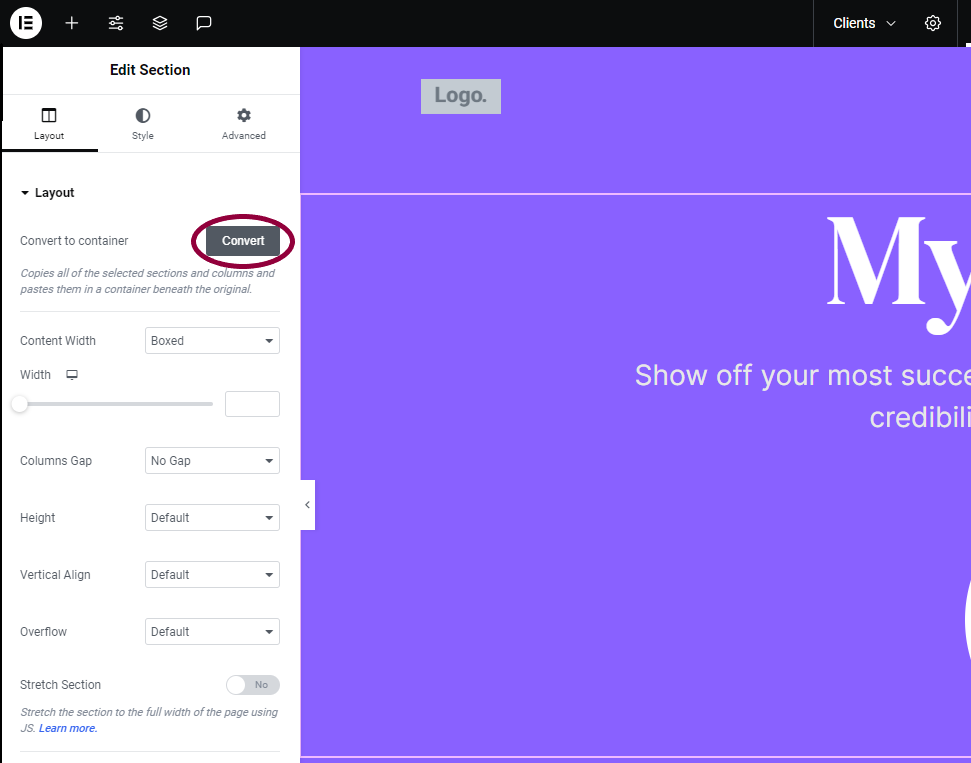
3. In the Edit menu, expand Layout, and click Convert.
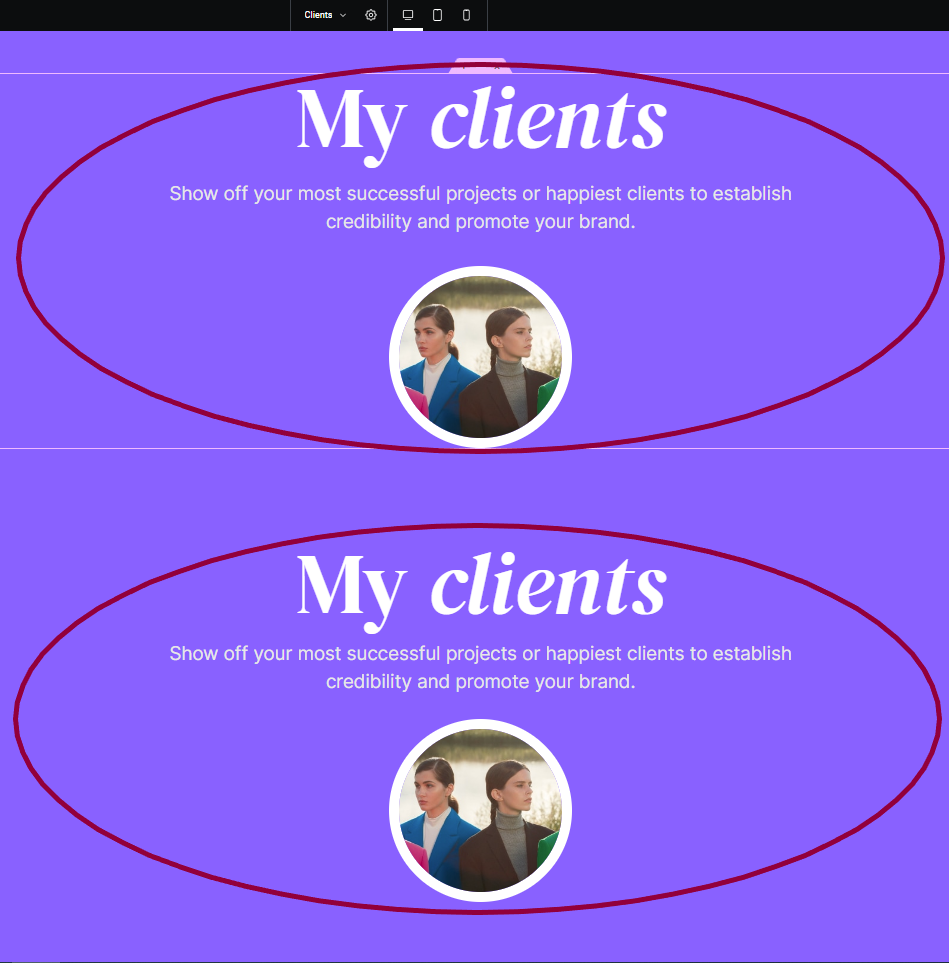
The converter creates a duplicate of the section in a container below the original section.
Hi Everyone!
1, When you use PHP 8+ and get an error similar to the image below:

2, To fix this problem, please go to "Appearance -> Menu" and follow the instructions as shown in the image below:

Thank you!
Hi,
1, Go to the backend edit of the Pages or Homepage and check the "header name": https://prnt.sc/NHtf8Qcytwws
2, Go to Appearance -> Customize -> Header and check "header name": https://prnt.sc/6dmmMmcM2bbR
3, Find the "header name" in the Header builder custom post type and Edit with Elementor: https://prnt.sc/2EdTtoyeLRLS
4, Edit logo, menu, header style, etc...: https://prnt.sc/khvhFT-oUskr
Thank you!
1 - By default, we do not import demo shop content for customers to save time because many customers do not use it. But if you need it, we will assist you in importing the demo shop content.
2 - Please install the Woocommerce plugin and then download the file demo content product:
+ Woocommerce plugin: https://wordpress.org/plugins/woocommerce/
+ File demo product of themes:
Sandbox: https://www.dropbox.com/s/c7meu7882m59ns8/sandbox-content-shop.xml?dl=0
Engitech: https://www.dropbox.com/s/izkhoxpsl2dz8hr/engitech-content-shop.xml?dl=0
Theratio: https://theratio.s3.amazonaws.com/theratio-demo-shop.zip
Onum: https://onum-wp.s3.amazonaws.com/demo-content/onum-content-shop.zip
Maxbizz: https://maxbizz.s3.amazonaws.com/demo-content/maxbizz-demo-shop.zip
Ronmi: https://ronmi.s3.ap-southeast-1.amazonaws.com/demo-content/ronmi-demo-shop.zip
ProgriSaaS: https://progrisaas.s3.ap-southeast-1.amazonaws.com/demo-content/progrisaas-demo-shop.zip
Techwind: https://techwind.s3.amazonaws.com/demo-content/techwind-demo-shop.zip
Makaffo: https://ot-makaffo.s3.amazonaws.com/demo-content/makaffo-demo-shop.zip
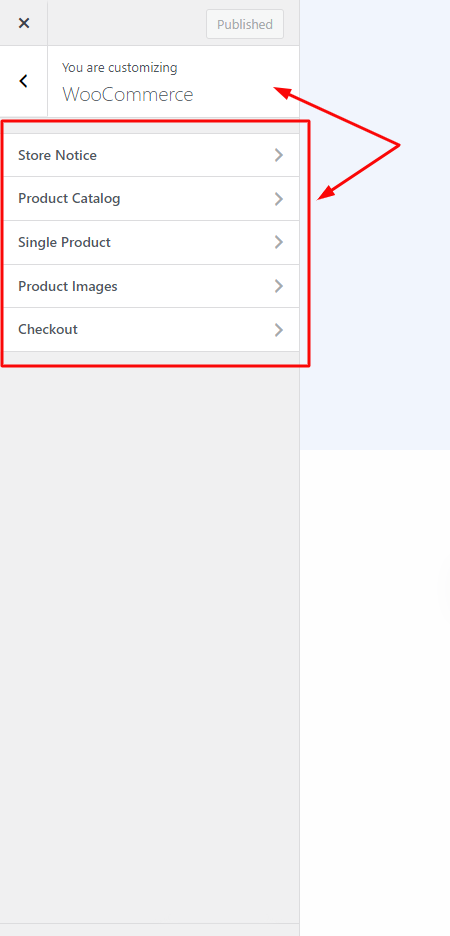
3 - After import the shop page content, go to Appearance -> Customizer -> WooCommerce to setup in more detail.
Hi,
Please use the SVG icon to replace the Font icon for X-Twitter:

Download the SVG icon here: https://fontawesome.com/icons/x-twitter?f=brands&s=solid

Thank you!
This is an issue with Elementor version 3.1.0 or greater.
Don't worry, we have a solution for you to solve the issue. Please follow this:
Click the Save Changes button.

1. The content area has not been found on your page error
1, Download and Saved .json files on your computer.
Step 1, Please download JSON files here: https://onum-wp.s3.amazonaws.com/demo-content/new-homepages.zip
Step 2, Extract the .zip file to a folder.
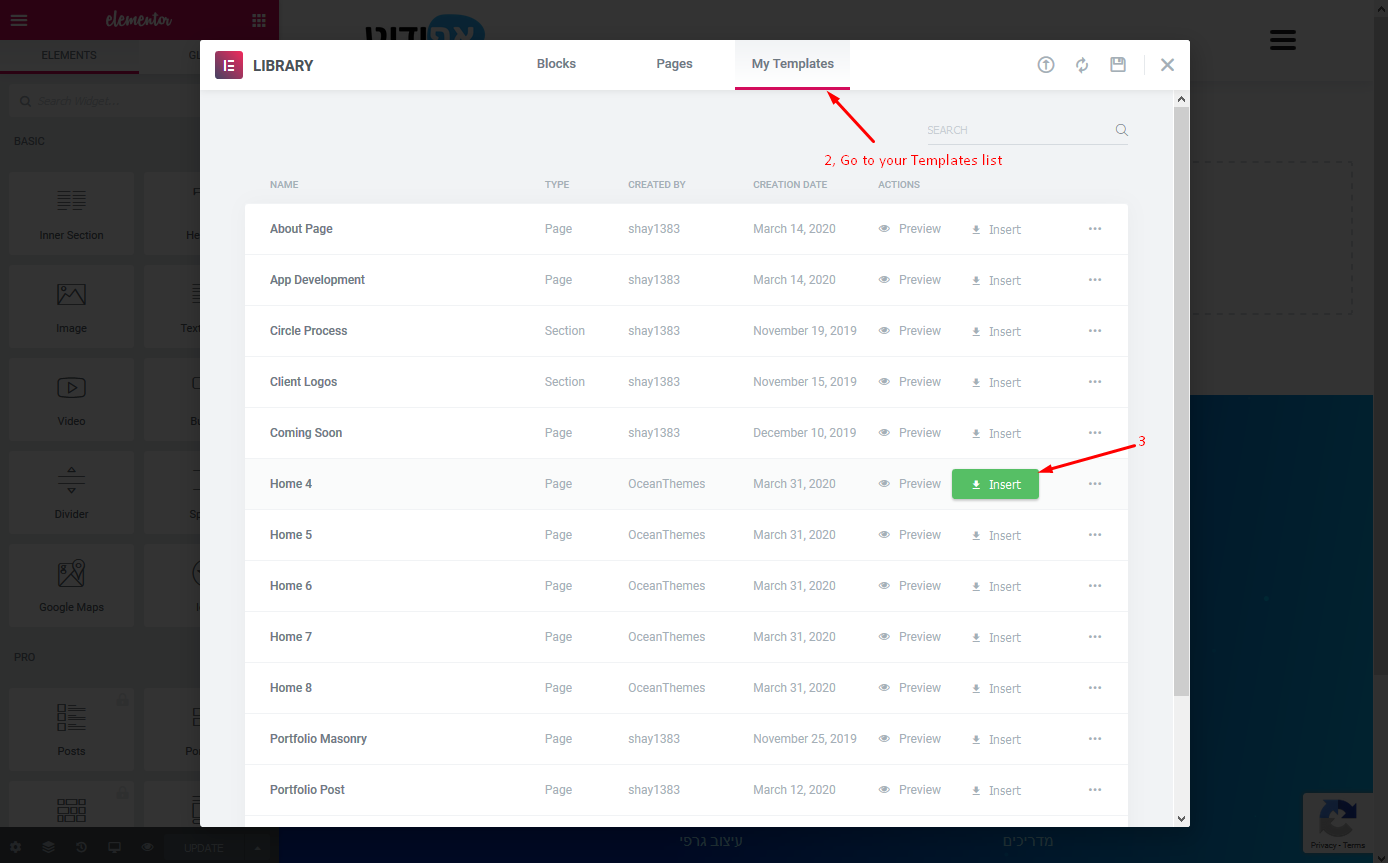
2, Import pages template to your template list:

You can import templates you’ve exported or downloaded.

3, Create a new page and insert the pages template you imported earlier.
Step 1, Create a new page:

Step 2, Insert the pages template from your template list:

Thank you!
How to setting Instagram Feeds?
1, How to find Instagram User ID?
Please enter your username to find User ID: https://codeofaninja.com/tools/find-instagram-user-id
2, How to find Instagram Client ID and AccessToken?
Please read more guide: https://elfsight.com/blog/2016/05/how-to-get-instagram-access-token/